If your website is not hosted on HubSpot but you have pages that are on Hubspot, then you must install the HubSpot tracking code on your non-HubSpot pages in order to capture their analytics.
The HubSpot tracking code helps you monitor:
- How well your website is generating traffic and leads
- How you can enhance the traffic coming to your website
- How you can turn that traffic into leads, and thereby, customers
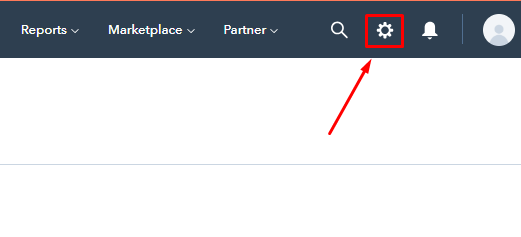
1. Click on the settings icon in the main navigation bar in your HubSpot account.
 2. Click on Reports > Tracking Code on the left-hand side menu.
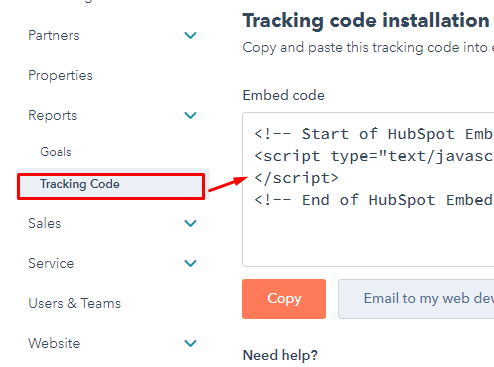
3. Below the Embed code section, click Copy. Or you can also send the tracking code to a team member by clicking on Email to my web developer.

Note: Before installing the tracking code, the user must log in to HubSpot to complete the steps.
4. Now, simply paste the tracking code you copied just before the closing tag in the HTML code on each non-Hubspot page of your website.

You can have the Hubspot tracking code on your WordPress website in two ways:
- With Plugin
- Without Plugin (manually)
If you add the tracking code manually and have a HubSpot Marketing Hub Basic, Professional or Enterprise account, then HubSpot will not be able to discriminate WordPress posts from analytics pages.
Note: If your website is hosted on wordpress.com, you will not be able to add HubSpot tracking code to your website. WordPress does not allow users to add any JavaScript code to wordpress.com sites because it is a shared environment.
1. In your WordPress account, click on Appearance > Editor on the left sidebar menu.
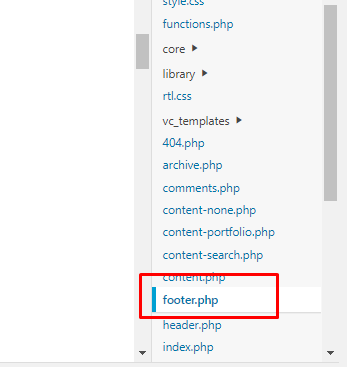
2. Select Footer from the list of theme files on the right-hand side of the editor.
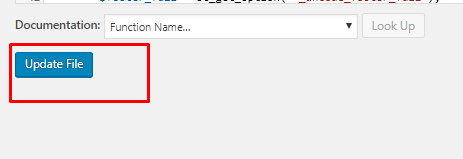
3. Paste the tracking code and click on Update File to.
If your website is on WordPress, then instead of installing the tracking code manually, you can simply use the WordPress Contact Form Builder– Conversion Tools by HubSpot plugin.
Note: Contact Form Builder for WordPress and Conversion Tools by HubSpot will let you use HubSpot tools on your WordPress website and connect the two platforms without dealing with code.
There are two ways to install the Contact Form Builder for WordPress – Conversion Tools by HubSpot WordPress plugin to begin the tracking activity on your WordPress pages in HubSpot:
- Install the plugin from WordPress
- Install the plugin from a zip file
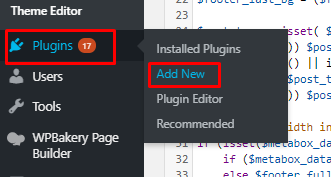
1. In your WordPress account, click on Plugins > Add New on the left sidebar menu
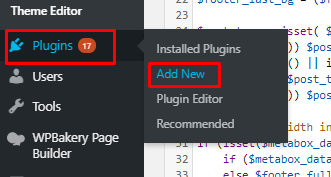
2. Search for Contact Form Builder for WordPress - Conversion Tools by HubSpot plugin.

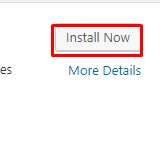
3. On the upper right, click on Install Now.
4. Click on Activate Plugin.
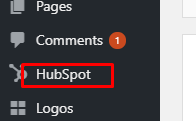
5. On the left sidebar menu, click on HubSpot and you will be automatically redirected to your Hubspot account and if in case you are not logged in to your account, then you will be asked to log in first.
1. Download the Contact Form Builder for WordPress – Conversion Tools by HubSpot WordPress plugin.
2. In your WordPress account, click on Plugins > Add New on the left sidebar menu.
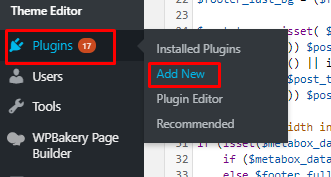
3. On the upper left, click on Upload plugin.
4. Click on ‘Choose file’ and a dialog box will appear; select the plugin zip file from your device, then click on Install Now.

5. Click on ‘Activate Plugin’ after the plugin is installed and the plugin will appear in your list of installed plugins.
Already using the HubSpot Tracking Code? Let us know in the comments below how that's going for you.