



Overview
Ready to convert your anonymous website visitors into loyal customers? In 2026, the key to successful lead generation will be mastering the Pardot form. Whether you’re building directly in the platform or considering a Pardot form handler for your external website, the first step towards successful form tracking and better prospect data is getting the setup right.
In this ultimate guide, we will take you through the entire process of creating a Pardot form. We will cover the following 5 essential pillars of Pardot form creation.
- Initial Setup: Naming and tagging for organized campaigns.
- Field Customization: Managing data formats and using dependent logic.
- Aesthetics: Polishing the look and feel to match your brand.
- Automation: Setting up completion actions and “Thank You” redirects.
- Launch: Deploying via iFrame and monitoring your performance reports.
From adding reCAPTCHA to passing hidden values for better attribution, this blog gives you a clear roadmap to start capturing and converting prospects with ease.
Get simple yet informative insights on Pardot form
A form is a source of acquiring information from anonymous visitors on your website or landing pages and helps you turn them into known prospects or paying customers. Similarly, Pardot forms help you gather visitor information visits on any of the web pages of your website. With the right Pardot consulting expertise, these forms become powerful tools for capturing leads and automating marketing workflows. These Pardot forms are quite advanced and easy to handle.
But how to create a form in Pardot? Let us tell you!
All you need to do in Pardot, navigate to Marketing >> Forms >> Forms. A new page will open.

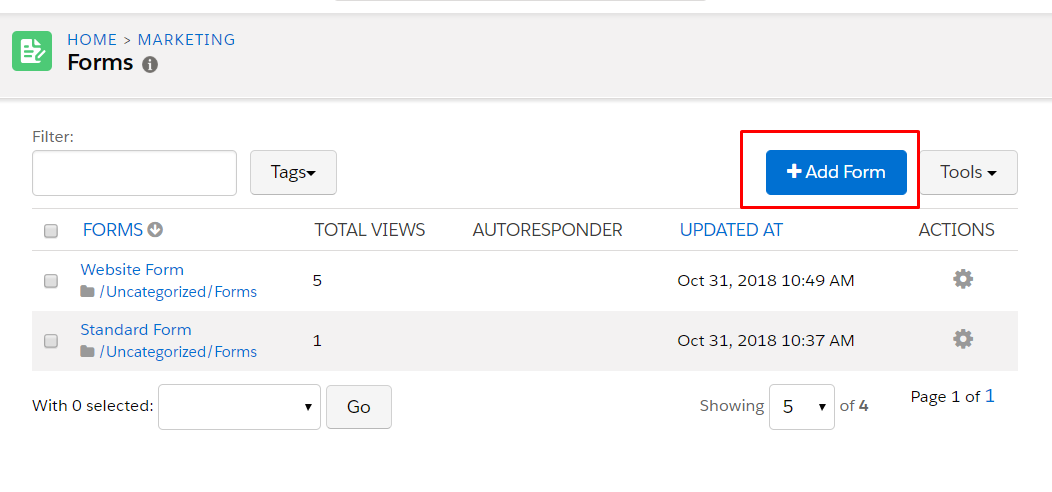
To create a form in Pardot, you need to go through these simple 5 steps:
- Name
- Fields
- Look & feel
- Completion actions
- Confirm & save
In every step, you need to fill in some information.
Let’s take a glance on these steps in detail